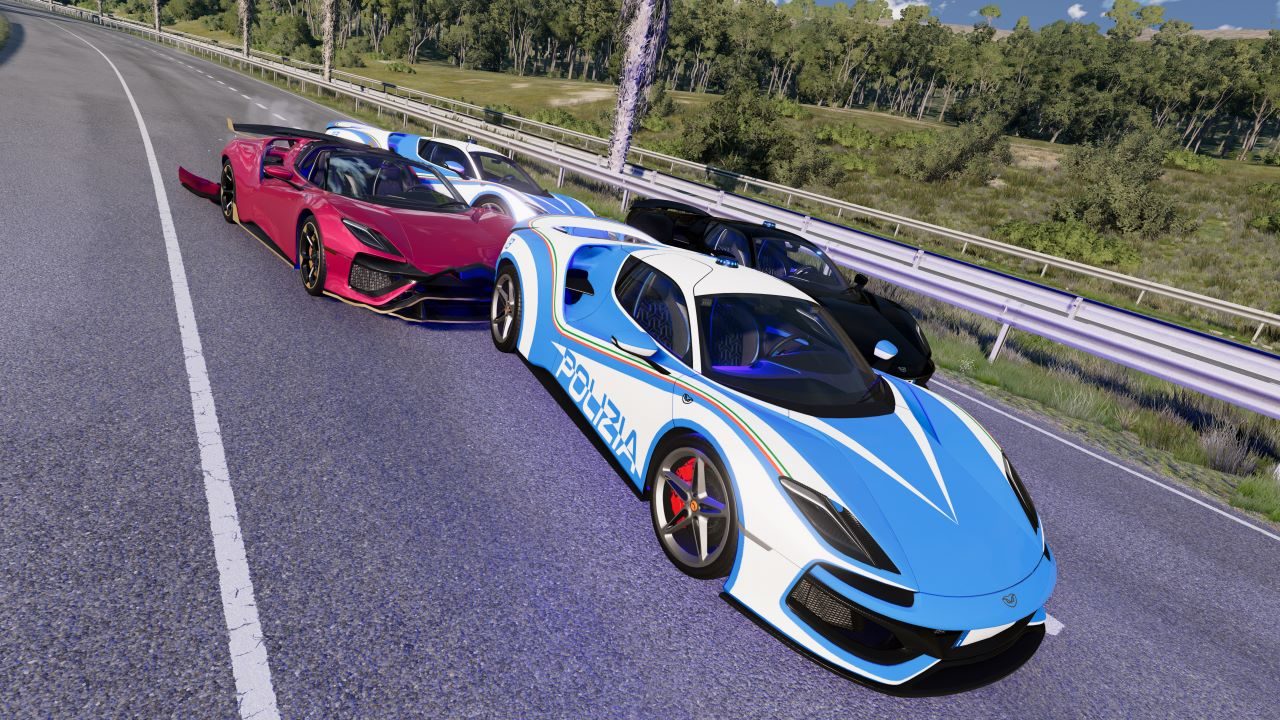
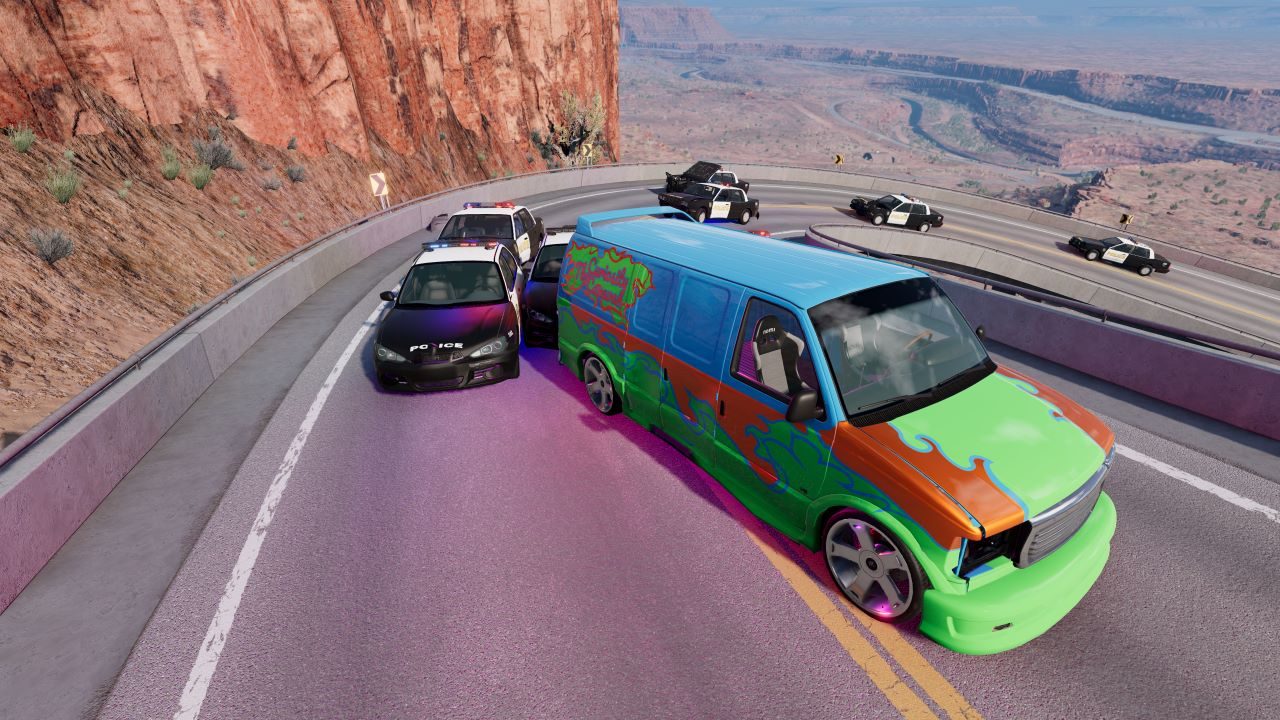
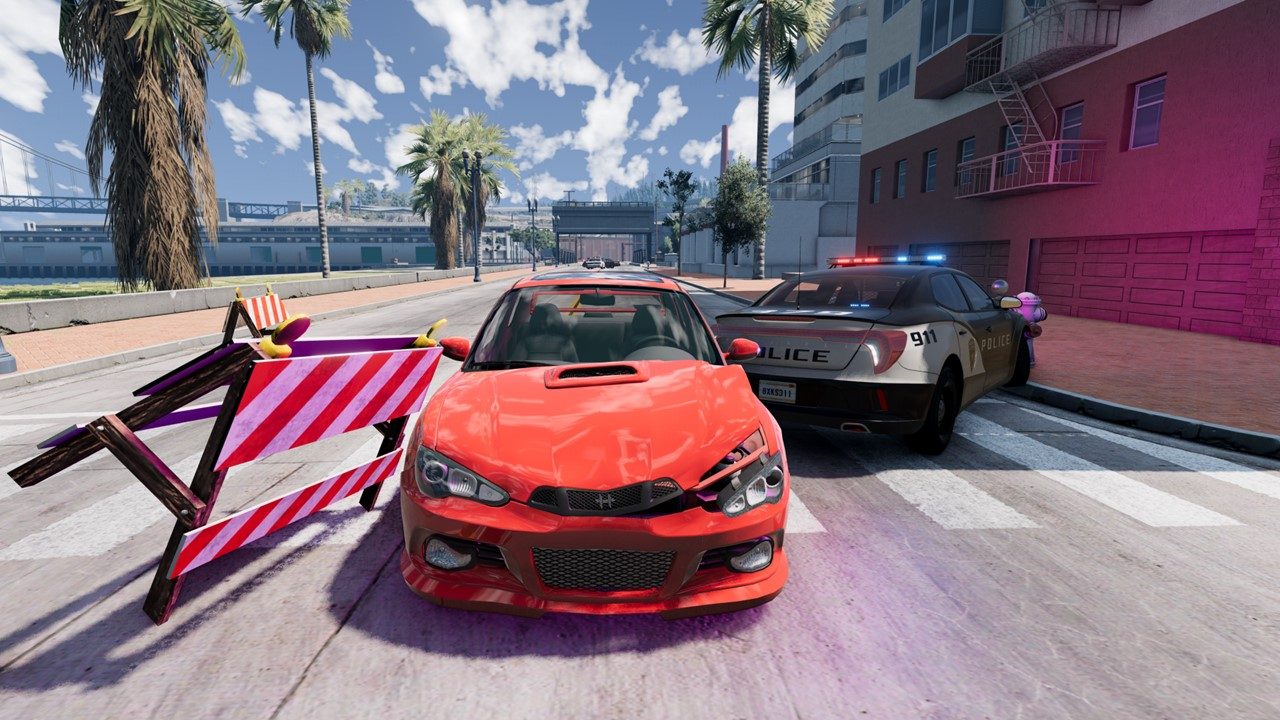
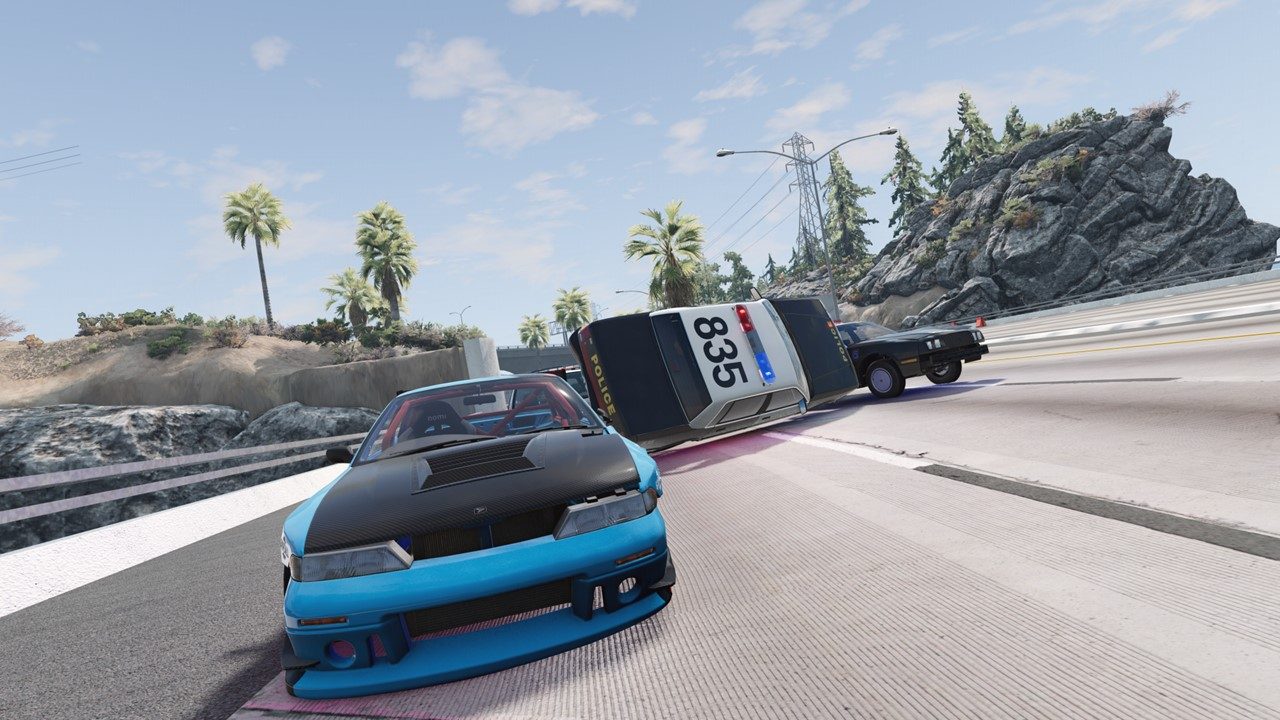
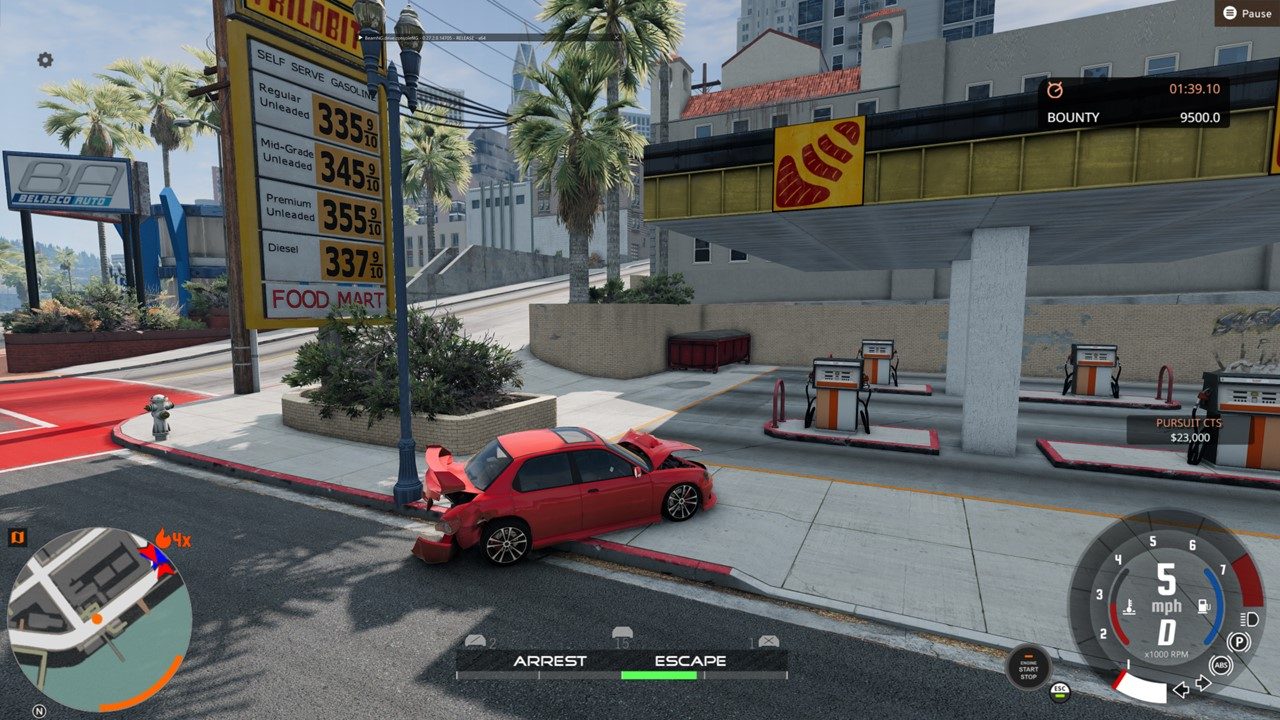
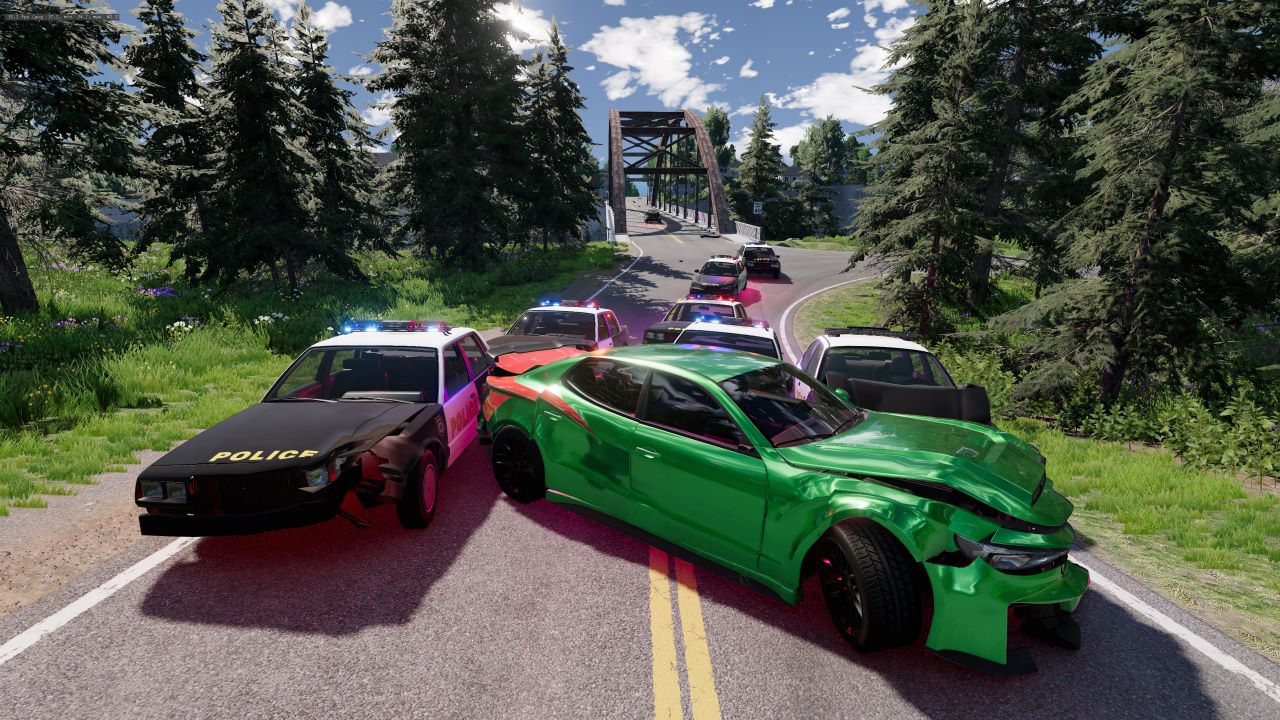
With this mod you can enjoy car chases from heat level 1 to heat level 6.
NOTE:
- This MOD is available from the Map in Freeroam mode. (NOT Scenarios)
- If the mission is not shown, please reload the Lua and UI (Ctrl + L, then F5)
- The mission category is "Evade (Most Wanted Mission)".
Overview:
I added a little flavor to the original Evade mission. You can enjoy heat level 1-6 car chases. UI of this mod is respect to 'Need For Speed Most Wanted'(2005).
Introduction video:
Features:
The only condition to clear the mission is to escape from the police car. It's easy to escape, but it's difficult to get a high score.
During missions, you can repair your vehicle by two ways.
1. Entering a gas station.
2. CRASH BREAKER (by pressing repair key)
Before you use it, you should charge the gauge. The gauge is charged by risky driving: Drifiting, Speeding and Wrong way driving. If you take risks, you can get the reward.
Options:
There are 3 options in this mission.
- Start Heat Level (1~6)
- Max Heat Level (1~6)
- Use Simple Police (on/off)
- Traffic (on/off)
- Random Start Position (on/off)
note: heat level 6 vehicles is insane
note: If you enable "Use Simple Police", only the vehicles listed below will appear, but you can expect lower CPU load and higher FPS.
Performance notice:
- Loading time and memory usage increase as the heat level range increases.
- The higher the maximum heat level, the higher the CPU usage. Lower the FPS, the dumber the AI becomes.
Experimental features:
Spoiler: Experimental
UI of this mod is also available in Freeroam mode. UI names are as follows.
- "Most Wanted: HUD": Displays the pursuit HUD: gauges, bounty, offenses, speed breaker and police radio.
- "Most Wanted: Minimap": Displays a minimap with police vehicles, heat level and gas stations.
- "Most Wanted: Settings": Settings menu and RAP SHEET dialog for Most Wanted Mission.
If you want to see your RAP SHEET in freeroam, you can use "Most Wanted: Settings".
I have also created a ranking page on my personal blog, so you can upload your result.
Media:
Spoiler: YouTube
Credits:
@Angry_Bird - Advice on heat level 6 vehicle pools
@Online90 - Advice on collaborated with "OGC TWO - The Ultimate Map"
And everyone who supported me!!
Support me and get access to early versions of the mods here
https://mathkuro.fanbox.cc/
ABOUT THIS LISTING
This page describes Most Wanted Mission by the BeamNG author. The description and screenshots are the author's own, imported from their listing on the BeamNG.drive repository on 3 October 2026: https://www.beamng.com/resources/most-wanted-mission.25881/
Mythiq.net hosts no files for it. The download button goes straight to the release file on beamng.com, so you are downloading from the author's own host, not from a copy of ours.
The download count, rating and comments on this page start at zero and count Mythiq.net only. The source's own figures are not copied here — they measure a different site, and a number that cannot be checked against our own ledger is not worth printing.
Media
Requirements
BeamNG.drive on a current build. The repository lists a mod as outdated once it stops loading, but a mod written for an older release can still misbehave quietly rather than fail outright — check the resource page for the author's own compatibility note before reporting a fault.
Nothing else is required unless the author says so above. BeamNG mods are self-contained zip archives; there is no loader or framework to install first.
Installation
1. Download the archive with the button on this page. Do NOT unzip it — BeamNG loads mods as zips.
2. Put the zip in your mods folder:
Windows — Documents\BeamNG.drive\\mods
Linux — ~/.local/share/BeamNG.drive//mods
3. Start the game and open the Mod Manager from the main menu to confirm it is listed and active.
4. Vehicles appear in the vehicle selector; maps appear under Freeroam.
UPDATING
Delete the old zip before adding the new one. Two versions of the same mod in the folder is the usual cause of a vehicle appearing twice, or of parts that will not fit together.
IF SOMETHING LOOKS WRONG
Clear the cache: in the Mod Manager, use "Clear cache and restart". Most oddities after an update — missing textures, parts that vanish — are a stale cache rather than a broken mod.
This release downloads from beamng.com, not from us, so
there is no checksum to compare against. Scan the archive before you unpack it.
Tell us if something is wrong — a file that will not work, content taken from
someone else, or anything that looks unsafe. Reports go to our review team, not
to the author.
We use cookies to ensure that we give you the best experience on our website and improve your experience. By continuing to use this site you consent to such use of cookies.